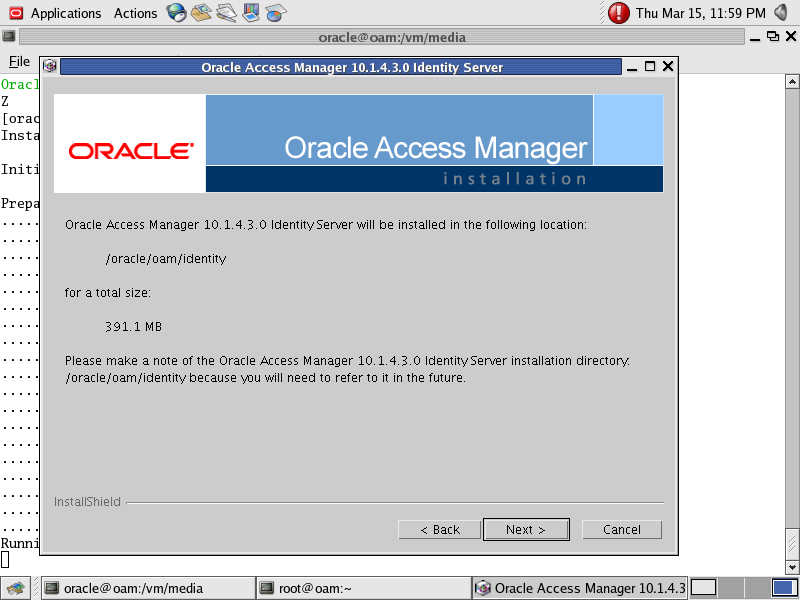
Upgrading Oracle Access Manager from 10.1.4.1 to 10.1.4.3. (Step 2)
1 <Upgrading Oracle Access Manager from 10.1.4.1 to 10.1.4.2>
• Confirm that the following component are already at release 10g (10.1.4.2.0). For example:
IdentityServer
WebPass
PolicyManager
AccessServer
• Stop the Oracle Access Manager component instance you are patching, for example, the Identity Server.
• Back up your Oracle Access Manager component installation directory.
• Move the backup directory to another location and record this so you can locate it later, if needed.
• Change to the temporary component-specific directory you created, and run the patchinst program for your platform, for example: All Unix Operating Systems: ./patchinst
• Then prompted, type the name of the directory where you want to apply the new patch set. You must apply the new release in the same location as the component you are upgrading, for example: installdir\identity or installdir\access.
• Restart the component that you patched.
• Repeat the steps above to patch any additional instance of the same component.
• Repeat the steps above to patch any other Oracle Access Manager component instance.
2 <Upgrading Oracle Access Manager from 10.1.4.2 to 10.1.4.3>
• Confirm that the following component are already at release 10g (10.1.4.2.0). For example:
IdentityServer
WebPass
PolicyManager
AccessServer
• Stop the Oracle Access Manager component instance you are patching, for example, the Identity Server.
• Back up your Oracle Access Manager component installation directory.
• Move the backup directory to another location and record this so you can locate it later, if needed.
• Change to the temporary component-specific directory you created, and run the patchinst program for your platform, for example: All Unix Operating Systems: ./patchinst
• When prompted, type the name of the directory where you want to apply the new patch set. You must apply the new release in the same location as the component you are upgrading, for example: installdir\identity or installdir\access.
• Restart the component that you patched.
• Repeat the steps above to patch any additional instance of the same component.
• Repeat the steps above to patch any other Oracle Access Manager component instance.
Upgrading Oracle Access Manager from 10.1.4.1 to 10.1.4.3. (Step 1)
You can not upgrade 10.1.4.1 to 10.1.4.3 directly, you need to upgrade it from 10.1.4.1 to 10.1.4.2 and then 10.1.4.2 will be upgraded to 10.1.4.3.
Upgrade will be in two phases.